Caffe Luxxe
Become a Caffe Luxxista Member and enjoy a little more La Bella Vita every day.


How to Brew: AeroPress
Invented by Stanford University Mechanical Engineering lecturer Alan Adler in 2005, the AeroPress is a relatively new brewing device that uses a pressurized chamber to brew coffee - similar to an espresso machine.
The AeroPress is a full immersion brewing method, which uses hand-generated air pressure to push the coffee through a thin paper filter. This technique yields coffees with increased clarity, complexity, and balance.
You Will Need
|
Aeropress + Accessories
|
Coffee Grinder
|
Hot Water Kettle
|
|
Scale
|
Timer
|
Decanter, or Mug
|

Step 1: Preparation
Fill your kettle with approximately 500 grams of fresh, filtered water. Begin heating your water. Ideally you want to brew with water between 195 – 205 degrees Fahrenheit, or roughly 1 minute off boil. You will use 250 grams of water to brew your coffee. The remainder will be for preheating your AeroPress, filter, and decanter. Once your water has heated, preheat the AeroPress, filter and your decanter. Do this placing an AeroPress filter into the perforated cap, and attaching it to the AeroPress base. Then, place them on your decanter, and run your excess hot water through it, then discard the water. This will prevent the water from losing too much temperature during and after the brewing process. Finally, remove the perforated cap and filter, and set them aside.

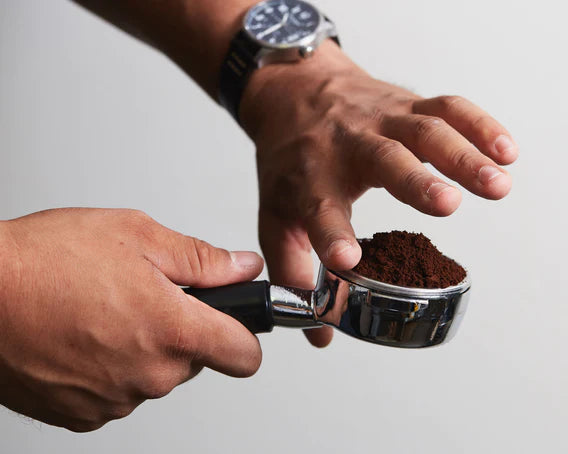
Step 2: Weigh and Grind Your Coffee
For our House Blend, we recommend using 23 grams, and 19 grams for any of our Single Origins. The grind setting you use should be the same as the Drip setting. Many grinders will retain a small amount of coffee, so your output may be about 1 gram less than your input. Because of this, you may want to grind an extra gram or two of coffee, so make sure you have the correct amount of ground coffee.

Step 3: Set Up the AeroPress
At Caffe Luxxe, we recommend using the “Inverted Method” to brew with an AeroPress, which has the Aeropress upside-down for the majority of the brewing cycle. This method allows for more control during the brewing process, and is overall a less messy technique.
Insert the plunger into the brewing chamber ever so slightly, and stand the AeroPress on your scale, plunger side down. Use the funnel, and add your ground coffee. Tare out your scale to zero.

Step 4: Add Your Coffee
Take your ground coffee, and pour it into the AeroPress. Check the weight on the scale to make sure you added the correct amount. Give the sides of the AeroPress a few light taps to make sure you have a flat, even bed of coffee. Tare your scale to zero.

Step 5: Start Your Brew
Start your timer, and pour 50 grams of hot water into the AeroPress. Use the AeroPress stirrer to stir the coffee & water mixture to ensure all of the grounds are wet. This stage is called the bloom. Allowing the coffee to sit with a small amount of water helps the coffee release some of its natural gases. This release allows the coffee to brew more readily. At 45 seconds, add 100 grams of hot water (for a total of 150g), and lightly stir once again. Immediately after the stir, add another 100 grams of water, for a final total of 250 grams. Tighten the perforated cap with filter onto the AeroPress.

Step 6: Brew And Filter
Once your timer reaches 2:15, quickly flip your AeroPress and rest it atop your decanter. Begin pressing down on the plunger, until you hear the hissing sound of air escaping the Aeropress. This should take around 30 seconds. Set the AeroPress aside, pour your coffee into your favorite mug, grab a good book, and enjoy.
Notes & Troubleshooting
If the plunging process takes longer than 30 seconds under light to moderate pressure, it means your grind setting is too fine. Coarsen the grind as much as needed to hit the 30 second target. Conversely, if the plunging process offer too little resistance, your grind setting is too coarse. Adjust your grind as finely as needed.